A jam nut is usually a thin hex nut selected for a specified locking or adjustment arrangement; a standard hex nut normally provides a taller threaded engagement for carrying the specified load. Comparing a jam nut vs hex nut therefore requires more than checking the wrench size. Define the nut height, material, proof-load requirement, mating thread and assembly procedure before ordering. Two ordinary nuts tightened together do not automatically provide an independently qualified locking system. This guide helps OEM buyers distinguish the parts, review installation access and request evidence without assuming that a thin nut can replace a full-height load-bearing nut.
Start with the drawing rather than the sales name. Jam nut, thin nut, standard hex nut and heavy hex nut describe different product choices, but the applicable dimensional standard determines their actual geometry. Confirm the thread designation, pitch, tolerance class, overall height, width across flats and bearing-face requirements. A supplier photograph can establish an apparent shape; it cannot establish the dimensional tolerance or mechanical class.
TNHO’s hex nut product range includes the thin hex nut used as the reference for this article’s images. The pictured silver finish and low profile do not certify a strength class or locking performance. Request the drawing and lot evidence for the exact part being quoted. Record which items are interchangeable and which require engineering approval, especially when a purchasing system groups every hexagonal nut under one generic description.
A thin nut has less available axial thread engagement than a taller nut of otherwise comparable geometry. Whether that engagement is adequate depends on the nut material, mating fastener, thread quality and applied load. Do not convert a visible height difference into a universal percentage reduction in strength. Proof-load and component acceptance requirements belong to the relevant specification and selected product.
The NASA Fastener Design Manual provides historical engineering background on nuts and locking methods. Its discussion does not qualify a TNHO product or supply a modern installation procedure for every industrial assembly. Treat the locking role and the structural load path as separate review questions. A nut that holds an adjustment position may have a different duty from the nut that maintains clamping force across a joint. Put those roles explicitly on the assembly drawing before substitution.

For a two-nut arrangement, an approved installation sequence must define which nut goes where, how each nut is restrained, and the intended final condition. Different published instructions and application conventions can conflict, so copying an unqualified instruction from a generic article is a poor way to control production. Obtain the procedure appropriate to the actual nut pair, bolt and joint.
State which wrench holds the first nut while the second operation is performed. Include access to both sets of flats, the tightening method and any required witness marks or inspection. The operator should not have to infer the sequence from a parts list. During validation, observe whether the adjustment moves while the second nut is tightened and whether the operation changes the intended clamp condition. Record the resulting approved procedure with the drawing revision, rather than attaching a universal torque recommendation to the words jam nut.
A standard hex nut, a thin adjustment nut, a prevailing-torque nut and a specified two-nut system answer different design problems. Select the system first and then procure its components. Additional parts may increase stack height and assembly time, while a specialized locking nut may have its own installation, temperature or reuse limits. Evaluate those limits for the service environment and maintenance plan.
The following checklist gives purchasing and quality teams a consistent way to compare offers. It is deliberately qualitative: numerical loads, nut heights and tightening values must come from the approved drawing and applicable specification. Do not compare an ungraded thin nut quote against a qualified full-height nut and call the difference a purchasing saving. An alternative is acceptable only after its load path, retention method and installation access have been approved. Keep a record of which requirements each supplier has confirmed and which remain open.
| Decision | Information to request | Acceptance action |
|---|---|---|
| Thin nut for adjustment | Nut height, thread engagement and adjustment travel | Validate the complete adjustment range |
| Standard hex nut carrying load | Specified class, thread and proof-load evidence | Approve component and joint requirements |
| Two-nut arrangement | Exact nut pair and installation sequence | Demonstrate access and functional retention |
| Alternative locking nut | Locking mechanism and application limits | Approve substitution before ordering |
This is a purchasing decision checklist, not a table of universal material or coating limits. Use the approved drawing and applicable standard for numerical acceptance.
Measure the complete installed stack, including washers, brackets, adjustment travel and the usable portion of the male thread. Verify that both nuts can reach their intended positions without running onto incomplete threads or bottoming against a shoulder. Confirm that the assembly permits the required thread engagement throughout the adjustment range. A fit check at one nominal position may miss the worst combination of tolerances.
Use the correct wrench geometry in the access review. A thin nut can be difficult to hold when a normal wrench is thicker than the available gap. Check nearby walls, cable routing and the space needed to remove the part during maintenance. For an electrical cabinet, separate mechanical fastening requirements from any electrical clearances or intended conductive paths. Do not assume a metallic nut provides an approved grounding connection. Include these constraints in the supplier drawing package so a quoted alternate height is reviewed before production.
A joint can lose clamping force through embedding, relaxation, thermal movement or other effects without visibly rotating the nut. Conversely, a mark showing that the nut has not turned does not prove the required clamp force remains. Review the complete failure mechanism and the consequences of looseness before choosing a retention method.
The NASA threaded fastening systems standard applies to spaceflight hardware and should not be presented as a blanket rule for ordinary industrial nuts. It illustrates why an application may require locking performance to be considered separately from preload. For your assembly, define the representative operating conditions and approved verification. Our guides to bolt preload loss and prevailing-torque nuts address complementary questions; neither establishes that a two-nut arrangement is suitable for a particular safety-critical joint.

Surface finish and lubrication affect assembly behavior, handling and the relationship between applied torque and clamp force. Specify the delivered condition and identify any cleaning or lubrication performed later. A quoted nut that matches the thread designation but arrives with a different surface system may require the installation process to be reviewed.
Do not use appearance as the acceptance method for material or coating identity. Ask for the relevant supplier evidence and preserve lot traceability when the application requires it. Explain whether the nut will contact another metal, a painted bracket, a polymer spacer or an electrical terminal. That interface may constrain the finish and bearing surface. Review lock nut versus hex nut selection for the broader choices, but keep this RFQ focused on thin-nut geometry and the specified two-nut or adjustment duty. Record substitutions before purchasing accepts them.
Incoming inspection should verify the agreed nut identity, dimensions, thread acceptance, surface condition and documentation. The sample must remain linked to its production lot. If the drawing requires a mechanical test or proof-load evidence, visual inspection and a successful hand assembly cannot replace it. Define the sampling and acceptance method in the purchase specification.
Installation validation asks different questions: can operators follow the procedure, can tools reach both nuts, does the adjustment stay in position, and does the joint satisfy its functional requirements after representative exposure? Use production-intent mating parts and record their dimensions and finish. Include the approved tightening equipment and restraint method. After testing, inspect the actual failure location rather than reporting only a pass or a peak force. A thread strip, bolt failure, slipping adjustment or damaged bearing surface implies a different corrective action. Keep component inspection and assembly validation as two distinct records.
Include the controlled part drawing, thread system, nut dimensions, material or property class, finish, required quantity and traceability level. Add the mating bolt or stud information, intended duty, adjustment range and installation procedure where these affect the supplied part. Identify whether the supplier may propose an alternate or must quote exactly to the drawing.
For a new application, request first-article samples before approving production quantities. State the acceptance evidence, who performs joint validation and who owns the final assembly approval. Compare offers against the same technical scope, including packaging that protects threads and any installation-sensitive surface condition. If a later change affects nut height, material, finish, mating thread or wrench access, review the assembly again. This creates a practical boundary between a purchasing change that preserves the approved design and an engineering change that requires a new decision.
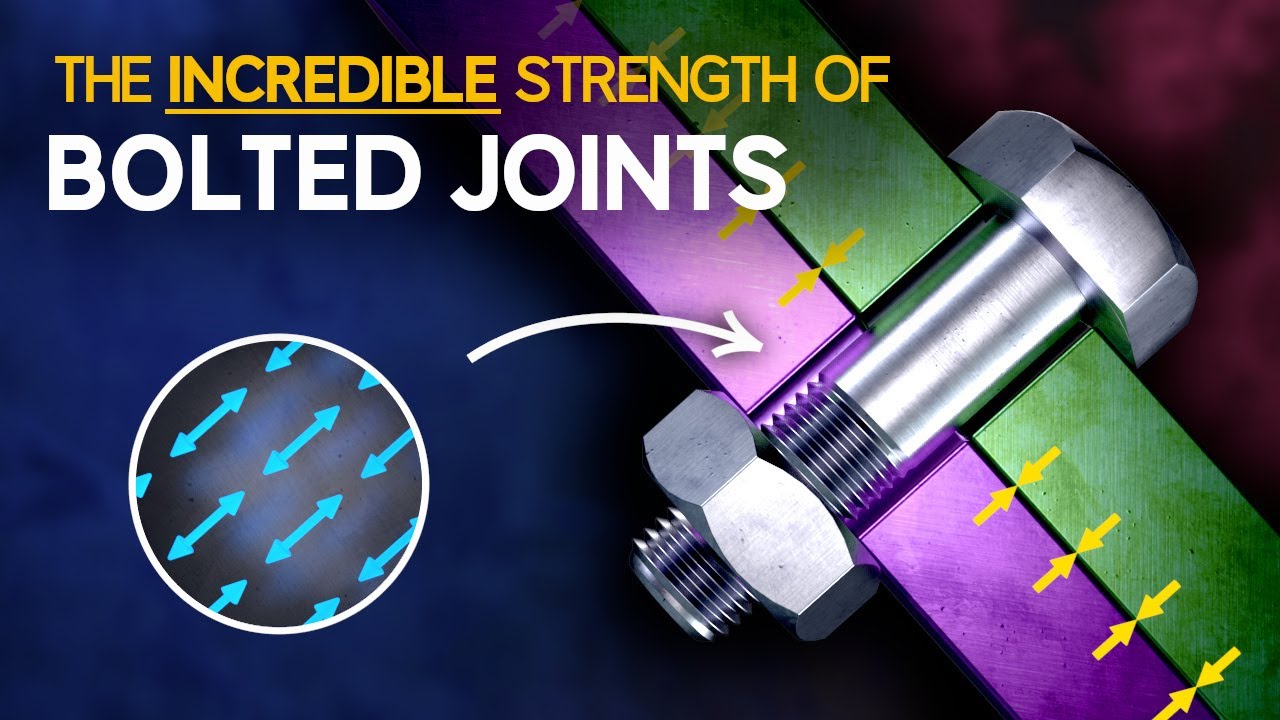
The Efficient Engineer explains preload and load transfer in bolted joints. This neutral educational video supports the distinction between rotation control and clamping performance; it is not a jam-nut installation instruction or a qualification of TNHO parts.
Usually not. A jam nut is generally thinner; the actual geometry and acceptance requirements must be defined by the specified part and standard.
Only after reviewing thread engagement, mechanical requirements and the complete joint. Matching thread size alone does not establish interchangeability.
Follow the approved procedure for the selected pair and application. Define placement, restraint and tightening sequence rather than relying on a generic rule.
No. A witness mark can reveal rotation but cannot independently establish retained preload or joint performance.

 TNHO
TNHO 


